2.2 Update
Regenerate Invoice:
Regenerate Invoice
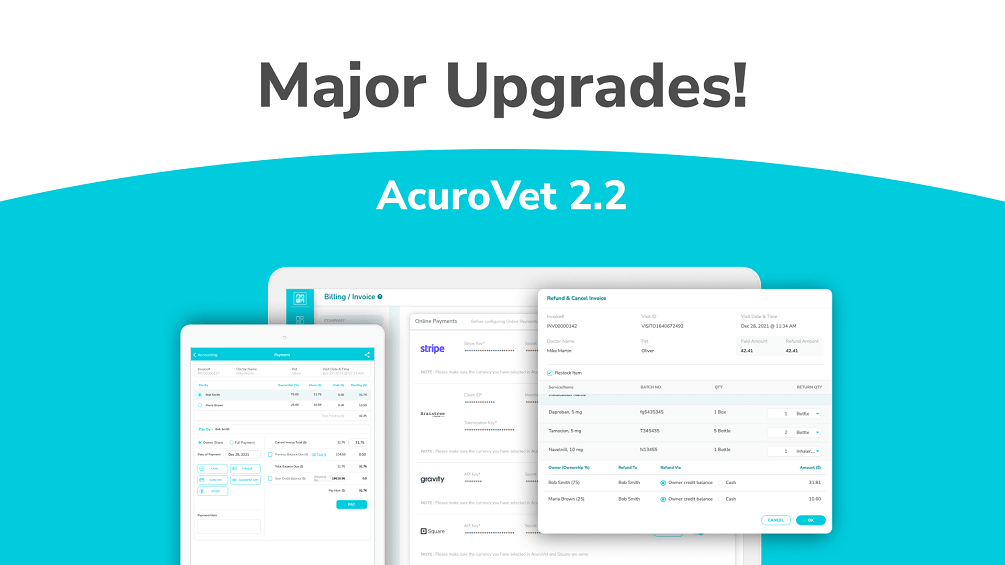
Cancel (to delete or edit) in one of two ways. 1) Accounting > Invoice > Pending toggle. Find invoice, click on 3-dot icon, click on Cancel Invoice or 2) Visit History > search for patient’s visit > click Billing toggle. Scroll to the bottom of the statement screen, click on Cancel Invoice. Once canceled, you will be in the billing screen to edit/change/correct.
If a payment was applied to the invoice and needs to be canceled, access the invoice in either manner, except instead of Pending toggle, click on Paid toggle in the Accounting module. When you select Refund & Cancel you will need to refund the amount paid as either a credit balance to the owner’s ledger or a cash refund. Once the invoice is corrected, from Invoice > Pending, click on Pay and allocate the credit balance as a payment to the corrected invoice.
Online Payments and Configuration
Online payment configuration is only in the web application. Currently we are supporting online payment gateways from:
- Braintree: a Paypal service
- Square
- Gravity
- Stripe
Contact the payment gateway to establish an account before configuration. When ready, click on Setting > Billing/Invoice. Enter the information provided by the gateway to establish integration. Click on Configure. To allow payment through AcuroPet™, click on the Enable toggle and select the payment gateway from the list. Scroll to the bottom to Save changes.
Owner Payments
Payment can now pay for current and previous balances, have credit balances applied, or in case of multiple owners, can pay full amount (versus just individual share).
User Profile
Click on the User icon in the upper right corner, View Profile. Click on the pencil icon in the upper right to Edit profile. Enter DEA number, additional license numbers and signature. Once the profile is updated, scroll to the bottom right and click Save.
Inventory
Changes to the Inventory module include view available and expired stock separately, last five stock-in entries with pricing, editing price and viewing inventory history (“clock” icon at the right end of each inventory item).
Prescription (Script Out)
For prescriptions to an outside pharmacy, new fields (refills, unit, unit quantity) are available in the Prescription category within a visit. To share the prescription, click on Share icon in visit, unselect all report categories except Prescription Scripted Out. Prescription will have all dispensing information including your DEA number, licensure and signature.
Owner Ledger
In Pets and Owners, select owner. Click on the Owner Ledger toggle. Two views are available:
- Owner account balance - your accounts receivable
- Owner advance account balance - owner payments and credits

webinars, blogs, resources & more.
for 30 Days!

Recent blog posts

June 07, 2021
productInventory migration
Join us for a webinar on June 9 at 3pm EDT to learn about AcuroVet's upgraded inventory module and the migration process. Register for the webinar to understand the classification process and ensure your inventory data is ready for the 2.0 features update.

April 07, 2021
productVersion 1.9.0
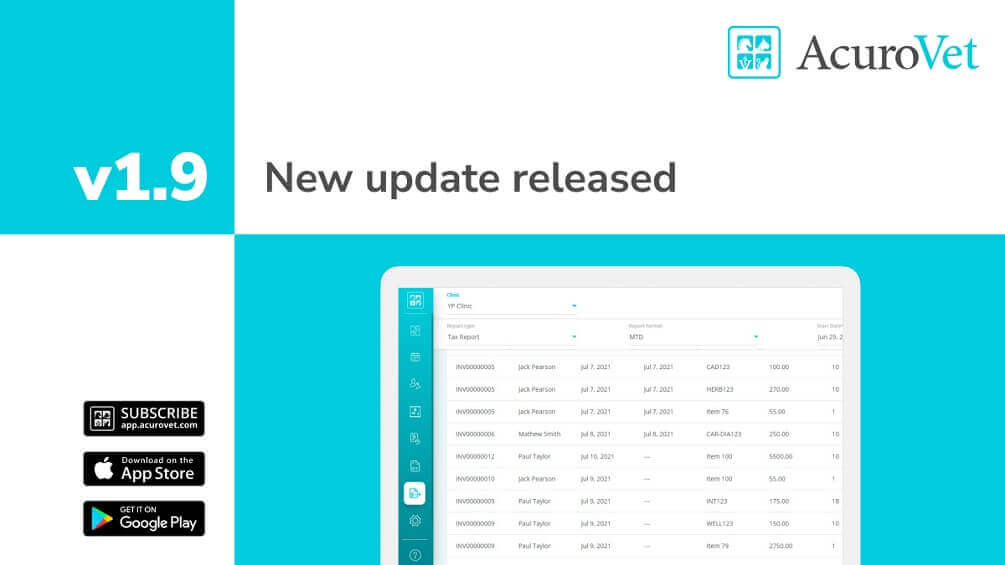
Discover the latest enhancements and fixes in AcuroVet, including streamlined contact management, easier prescription label printing, customizable discount codes, and comprehensive financial reporting. Experience improved inventory management, simplified accounting processes, and enhanced owner interaction features, all designed to optimize veterinary practice efficiency.


